Photo by zhudifeng via iStock
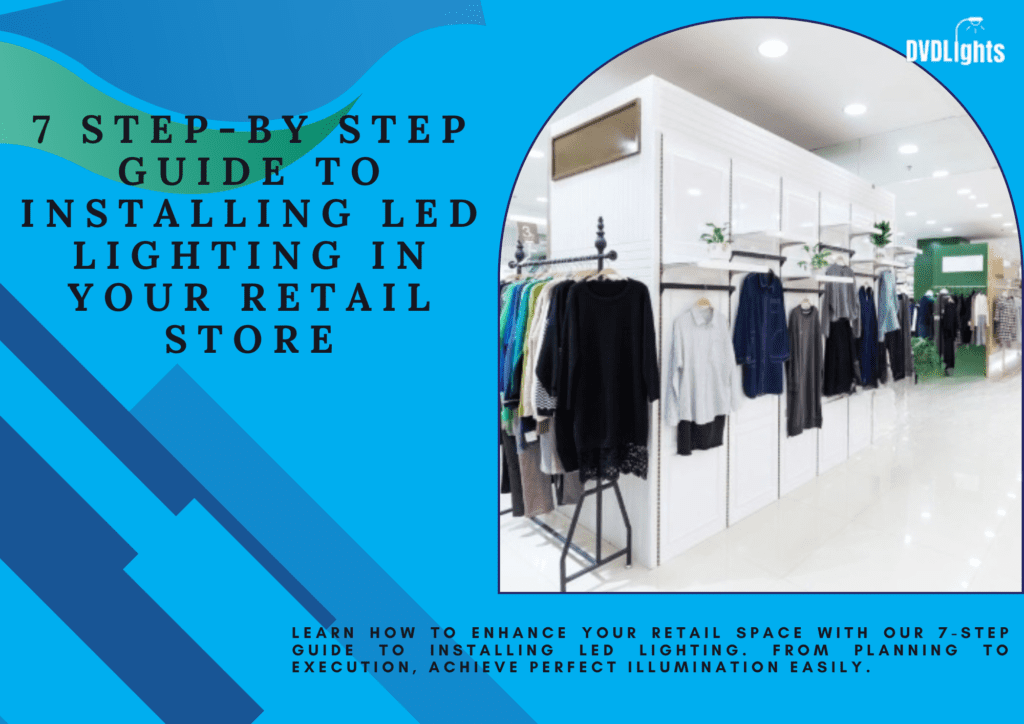
LED lighting has been a game-changer in the retail sector, offering many benefits that go way beyond illumination. Right from energy efficiency and cost savings to better product display and improved customer experience, LED lights make for a great investment any retail store would want. This guide takes a detailed, step-by-step approach toward the installation of LED lighting at your retail store to help you derive all these benefits. No matter whether you are an owner, a manager, or simply a little handy, this guide has been prepared for you to transform your retail environment.
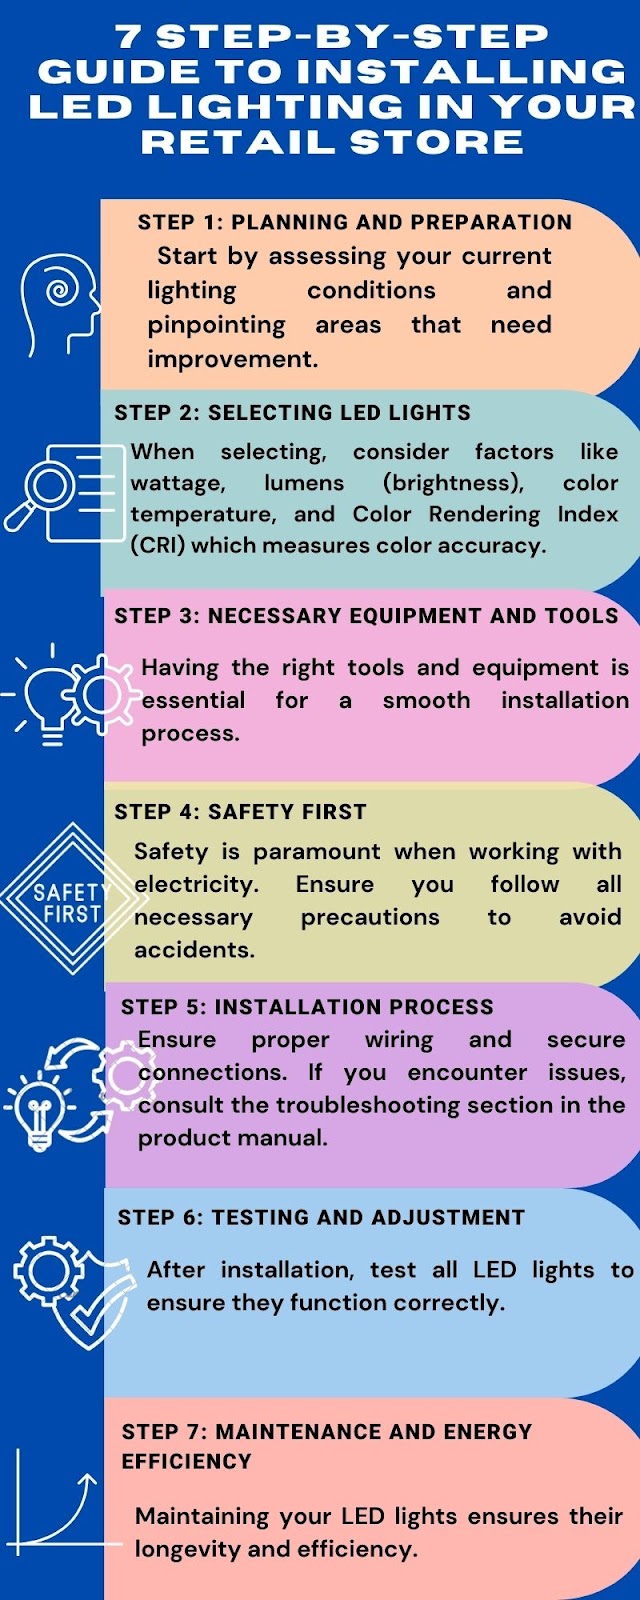
Step 1: Planning and Preparation
Installation is preceded by careful planning and preparation. Begin with assessment of your current light conditions and areas that need improvement; establish or compute how much energy you use at the moment, and how much may be saved with the help of LED lighting, very energy-intensive.
First, determine what kind of LED lighting you would like to have in different areas of your store. Ambient creates general illumination, accent lighting outlines certain areas or products, and task lighting will zero in on workspaces. Color temperature and light output should be suitable for whatever atmosphere you’re trying to invoke. Warm light, 2700K-3000K, gives a cozy environment; cool light, 4000K-5000K, is invigorating. Create an in-depth lighting layout plan to get a sense of what the finished setup will look like.
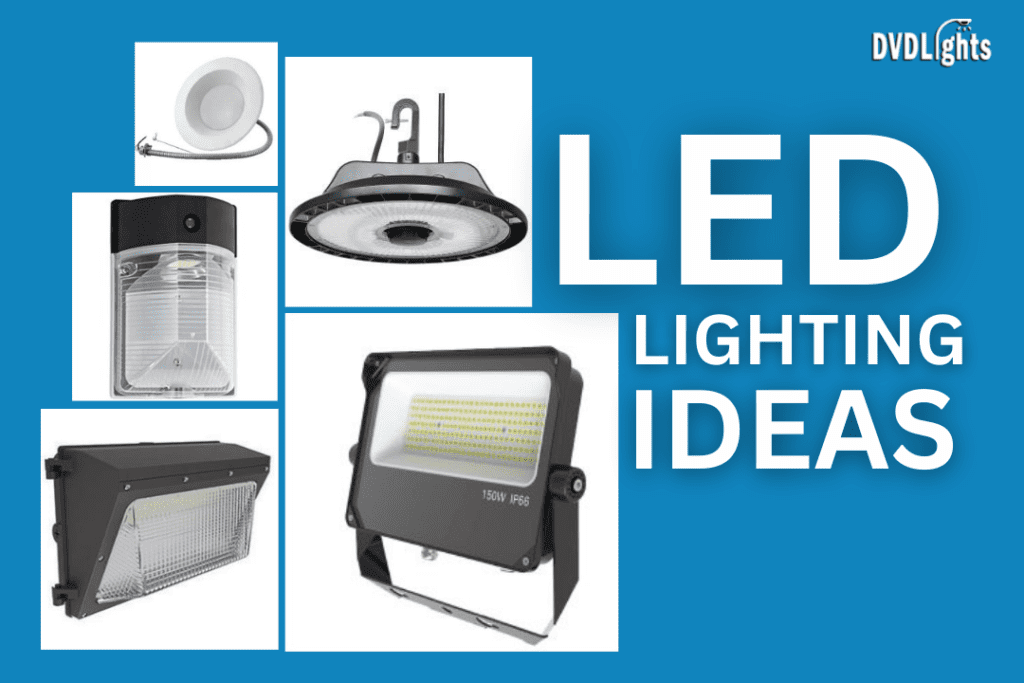
Step 2: Selecting LED Lights
The right choice of LED lighting would depend on the various available options and your store’s needs. This will include LED bulbs, panels, and strips. While making a choice, consider wattage, lumens — the brightness — color temperature, and Color Rendering Index, which is a measure of color accuracy.
Choose energy-efficient and long-lasting LED lights. Look for certifications like ENERGY STAR to indicate superior energy performance. Reading through the reviews and recommendations can also serve as a good guide in making an informed choice.
Step 3: Necessary Equipment and Tools
Proper tools and equipment are needed in order to make the installation process easier. The very basic ones include a ladder, screwdriver, pliers, and wire cutters. Additional equipment may be called for by the nature of lighting fixtures you will be using, such as mounting brackets or dimmer switches.
Step 4: Safety First
The most critical thing that one should remember when dealing with electricity is safety. Take all measures so that everything is safe, and an accident does not occur. Some safety tips:
- Always turn off the power at the breaker before starting any electrical work.
- Use insulated tools to protect against electric shocks.
- If you are unfamiliar with electrical work, consider hiring a licensed electrician.
Step 5: Installation Process
Now comes the hands-on part – installing the LED lights. Follow these step-by-step instructions for different types of LED lights:
For LED Bulbs:
- Turn off the power and remove the existing bulbs.
- Screw in the new LED bulbs.
- Turn the power back on and test the lights.
For LED Panels:
- Turn off the power and remove the existing fixtures.
- Install the mounting brackets.
- Connect the wires according to the manufacturer’s instructions.
- Secure the LED panel to the brackets.
- Turn the power back on and test the lights.
For Linear LED Strips:
- Turn off the power and clean the surface where the strips will be installed.
- Peel off the adhesive backing and stick the strips in place.
- Connect the strips to the power supply.
- Turn the power back on and test the lights.
Ensure proper wiring and secure connections. If you encounter issues, consult the troubleshooting section in the product manual.
Step 6: Testing and Adjustment
After installation, test all LED lights to ensure they function correctly. Check for even light distribution and the desired lighting effects. Make any necessary adjustments to light levels and positions. Using a light meter can help you achieve accurate measurements and ensure optimal lighting conditions.
Step 7: Maintenance and Energy Efficiency
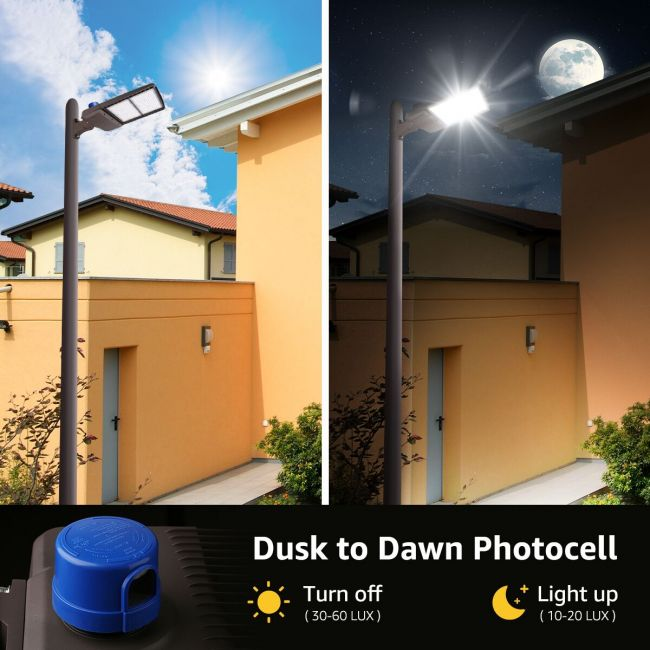
Looking after your LED lighting means that it will last longer and stay efficient. Clean fittings regularly to keep them free of dust and dirt. While the LEDs last very long, their performance shall still be checked regularly. To gain maximum savings due to energy efficiency, consider installing timers or movement sensors to control the lights.
Conclusion
Installing LED lighting in your retail store offers a number of benefits, from energy efficiency and cost savings to improved product displays and customer experience. Follow this step-by-step guide on how to upgrade your store lighting to take advantage of the benefits. Contact again if more resources or professional help are needed on anything.
FAQs
1. What are the main benefits of switching to LED lighting in my retail store?
- LED lighting offers numerous advantages, including significant energy savings, reduced utility bills, longer lifespan compared to traditional lighting, improved product visibility, and enhanced overall store ambiance. Additionally, LED lights generate less heat, contributing to a more comfortable shopping environment.
2. How do I determine the right type of LED lighting for different areas of my store?
- Assess the specific needs of each area in your store. Use ambient lighting for general illumination, accent lighting to highlight specific products or areas, and task lighting for workspaces. Consider factors like color temperature (warm for cozy, cool for energizing), brightness (lumens), and the Color Rendering Index (CRI) to ensure accurate color representation.
3. What tools and equipment will I need for installing LED lights?
- Basic tools include a ladder, screwdriver, pliers, and wire cutters. Depending on the types of LED fixtures you’re installing, you may also need mounting brackets, dimmer switches, and additional wiring accessories. Always have a voltage tester on hand to ensure safety during the installation process.
4. How can I ensure safety while installing LED lighting?
- Prioritize safety by turning off the power at the breaker before beginning any electrical work. Use insulated tools and wear protective gear. If you’re not confident in handling electrical tasks, it’s best to hire a licensed electrician. Follow all manufacturer instructions and guidelines for the specific LED fixtures you’re installing.
5. How can I maximize energy efficiency with my new LED lighting system?
- To maximize energy efficiency, use timers or motion sensors to control when the lights are on, ensuring they’re only in use when needed. Regularly maintain your LED fixtures by cleaning them and checking for any issues. Opt for energy-efficient LED products with certifications like ENERGY STAR to ensure optimal performance and savings.