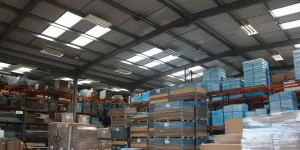
In today’s energy-conscious world, retrofitting traditional lighting systems with LED technology has become increasingly popular. Not only do LEDs offer substantial energy savings, but they also provide longer lifespans, better light quality, and lower maintenance costs. This step-by-step guide will walk you through the process of retrofitting your traditional lighting system with LEDs, ensuring a seamless transition to a more efficient and sustainable lighting solution.
Why Retrofit with LEDs?
Before diving into the steps, it’s essential to understand why retrofitting with LEDs is beneficial:
- Energy Efficiency: LEDs use up to 75% less energy than incandescent and halogen bulbs, significantly reducing electricity bills.
- Longevity: LED tubes can last up to 25 times longer than traditional bulbs, meaning fewer replacements and reduced maintenance costs.
- Environmental Impact: LEDs contain no harmful mercury and reduce carbon emissions, making them an environmentally friendly choice.
- Better Light Quality: LED lighting provides superior color rendering and brightness, improving visibility and comfort in various settings.
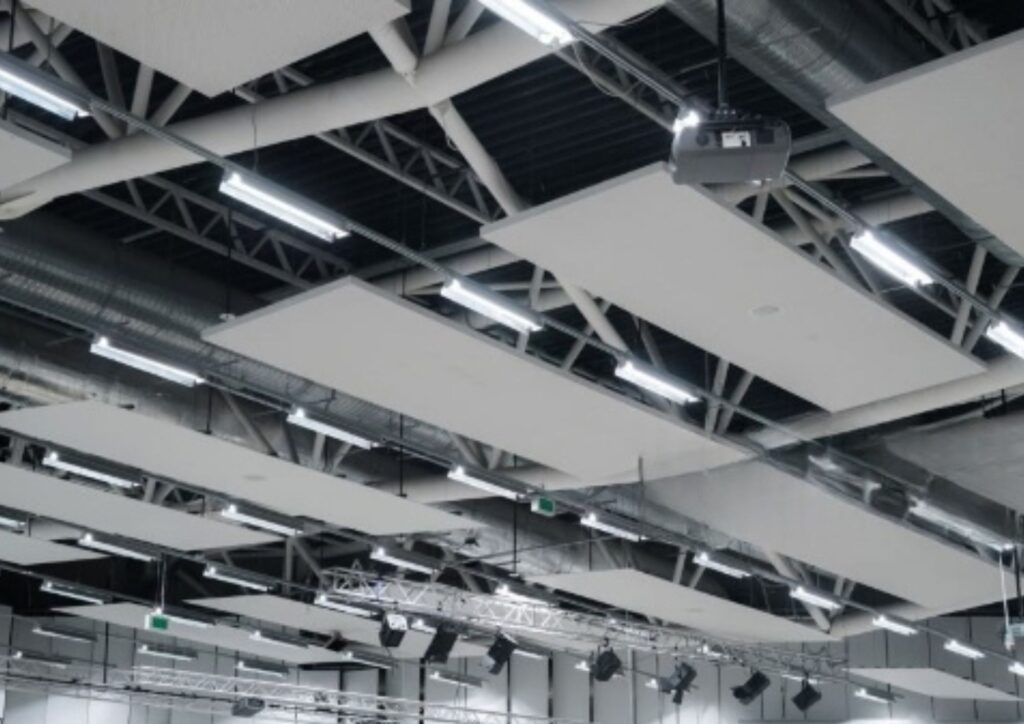
Photo by Vaclav Falc via iStock
Step-by-Step Guide to Retrofitting with LEDs
Step 1: Evaluate Your Current Lighting System
Before beginning the retrofit, assess your existing lighting system. Identify the types of bulbs and fixtures currently in use, as well as their wattages, voltages, and any specific lighting requirements for different areas.
Tip: Make a detailed list of all the lighting fixtures you plan to retrofit, noting any unique features or needs.
Understanding your current lighting setup is critical because it influences your LED choices. For instance, if you’re dealing with recessed lighting, you’ll need to look for LED options that fit those fixtures and offer similar or improved lighting coverage. Similarly, understanding the wattage and voltage of your current system ensures that you select LED replacements that won’t cause compatibility issues or require extensive rewiring.
Step 2: Choose the Right LED Replacements
Not all LEDs are created equal, so it’s crucial to select the right ones for your retrofit. Consider the following factors:
- Compatibility: Ensure the LED tubes you choose are compatible with your existing fixtures. Some LEDs may require specific types of dimmers or transformers.
- Color Temperature: LEDs are available in various color temperatures, ranging from warm (2700K) to cool (5000K) white. Choose a color temperature that suits the ambiance you want to create.
- Lumens vs. Watts: LED brightness is measured in lumens, not watts. Compare the lumens of the LED bulbs with the wattage of your traditional bulbs to ensure you get the desired brightness.
- Beam Angle: LEDs offer different beam angles, from narrow spots to wide floods. Select the appropriate beam angle for each application.
Choosing the right LED replacement involves more than just swapping out bulbs. Consider the environment where the lighting will be used. For example, in a kitchen or workspace, cooler LED lights (around 4000K to 5000K) can enhance visibility and create a more energetic atmosphere. In contrast, warmer lights (2700K to 3000K) are better suited for living rooms or bedrooms, where a cozy, inviting ambiance is desired.
Another critical consideration is the lumens-to-watts ratio. Traditional Led tubes are typically chosen based on wattage, but LEDs use lumens to measure brightness. For example, a 60-watt incandescent bulb can be replaced by an LED tube that uses only 8 to 12 watts but delivers the same brightness, measured at around 800 lumens.
Step 3: Consider Electrical Modifications
In some cases, retrofitting with LEDs may require minor electrical modifications, especially if you’re replacing old fixtures with new LED-compatible ones. This may involve:
- Replacing Ballasts: If you’re retrofitting fluorescent tubes with LED tubes, you may need to bypass or replace the ballast.
- Upgrading Dimmers: Traditional dimmers may not work well with LEDs, so you might need to upgrade to LED-compatible dimmers.
- Voltage Adjustments: Ensure that your LED replacements match the voltage requirements of your existing system.
Safety Note: If electrical modifications are necessary, it’s advisable to hire a licensed electrician to ensure everything is up to code.
Ballasts and transformers are common in traditional lighting systems, particularly in commercial spaces with fluorescent tubes. These components regulate the voltage and current to the lights. When retrofitting with LEDs, these ballasts may need to be bypassed or removed, as most LED tubes are designed to work without them. However, some LED tubes are ballast-compatible, making the transition easier.
Photo by Ja’Crispy via iStock
Dimmers also pose a unique challenge. Many existing dimmer switches are designed for incandescent bulbs, which operate differently than LEDs. Using a non-compatible dimmer can cause LED tubes to flicker or not dim correctly. Upgrading to an LED-compatible dimmer ensures smooth dimming and prevents potential damage to your new LED.
Step 4: Install the LED Tubes
Once you’ve chosen the appropriate LED tubes and made any necessary electrical modifications, it’s time to install them. Follow these steps:
- Turn Off Power: Always turn off the power at the breaker before starting any work on your lighting system.
- Remove Old Bulbs: Carefully remove the old bulbs and dispose of them properly. Some traditional bulbs, like CFLs, contain mercury and require special disposal.
- Install LED Bulbs: Screw in or plug in the new LED tubes, ensuring they fit securely in the fixture.
- Test the Lights: Once installed, turn the power back on and test your new LED lights to ensure they are working correctly.
Installation is usually the simplest part of the retrofit process. However, attention to detail is crucial to avoid issues like loose connections or misaligned bulbs, which can affect the performance of your new LED lights. After installation, testing the lights immediately allows you to catch any issues, such as flickering, uneven lighting, or compatibility problems with existing dimmers or controls.
Step 5: Fine-Tune and Optimize
After installing your LED tubes, you may need to fine-tune the settings to optimize performance:
- Adjust Dimmers: If you’ve installed LED-compatible dimmers, adjust them to achieve the desired brightness and ambiance.
- Check for Flickering: Some LEDs may flicker due to compatibility issues with existing dimmers or transformers. If flickering occurs, consult with an electrician or consider replacing the dimmer.
- Monitor Energy Usage: Track your energy usage over time to see the savings from your new LED system.
Fine-tuning your new LED system involves more than just adjusting brightness. Consider the overall ambiance and how the lighting interacts with your space. For instance, if your LEDs are in a workspace, ensure the light is bright enough to reduce eye strain. In living areas, softer lighting might be preferred to create a relaxing atmosphere. Monitoring energy usage can also help you quantify the benefits of your retrofit, giving you concrete data on how much you’re saving.
FAQs
- Can I replace any traditional bulb with an LED tubes?
- While most traditional bulbs can be replaced with LEDs, some specific fixtures or dimmers may require compatible LED bulbs or additional modifications. For example, older dimmers might not work well with LEDs, requiring an upgrade to an LED-compatible dimmer.
- Do LED bulbs work with my existing dimmers?
- Not all LED tubes are compatible with traditional dimmers. It’s essential to choose LED bulbs labeled as dimmable and possibly upgrade to LED-compatible dimmers. Incompatibility can lead to flickering or limited dimming ranges.
- Will retrofitting with LEDs save me money?
- Yes, LED bulbs use significantly less energy and last longer than traditional tubes, leading to lower energy bills and reduced maintenance costs. The upfront cost of LEDs may be higher, but the long-term savings are substantial.
- Do I need an electrician to retrofit my lighting system with LEDs?
- For simple led tube replacements, an electrician is not necessary. However, if your retrofit involves electrical modifications, it’s advisable to hire a licensed electrician. This ensures safety and compliance with local electrical codes.
- How do I dispose of old bulbs after retrofitting?
- Traditional bulbs, especially CFLs, may contain hazardous materials and should be disposed of at a designated recycling facility. LED tubes can also be recycled but contain no harmful substances. Proper disposal is crucial for environmental safety.
Conclusion
Retrofitting traditional lighting systems with LEDs is a straightforward and effective way to improve energy efficiency, reduce environmental impact, and enhance the quality of light in your home or business. By following this step-by-step guide, you can ensure a smooth transition to LED technology, enjoying the many benefits it offers for years to come. Whether you’re upgrading a single room or an entire building, LEDs are a wise investment in a brighter, more sustainable future.

