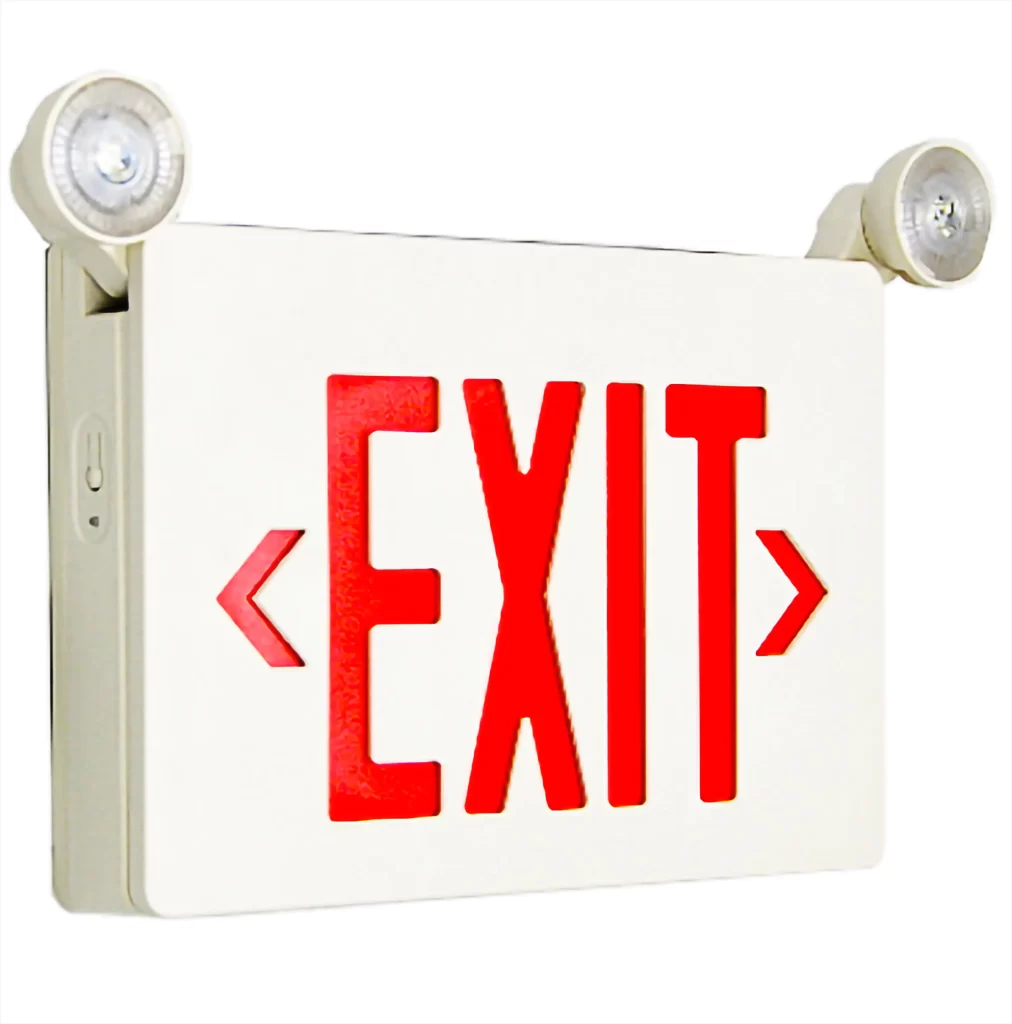
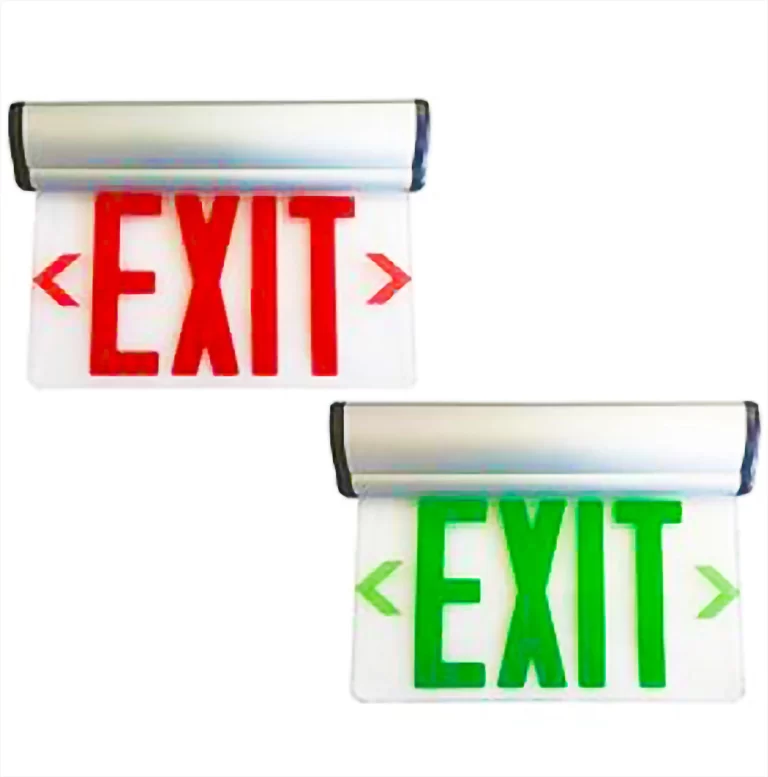
CLEAR EXIT SIGN LED LIGHT
Clear Exit Safety: Discover 708 Clear Exit LED Lights for Reliable Emergency Illumination
Product Code:
- 708E2-R
- 708E2-G
-
Request Quote
-
Overview
-
Installation Guide
-
Download
-
Warranty
REQUEST QUOTE
- Feature
- This new sleek & modern design is long-lasting, bright and energy efficient require very little maintainence and have battery back-up in case of power outages.
- Input Voltage:
- AC 120V/277V
- Wattage
- 5 WATTS
- Mounting
- Wall / Ceiling Mounting
CEILING & BACK MOUNTING
- Open Aluminum alloy cover plate.
- Take out the black plastic Stopper (22).
- Put the rubber wire trap in the corresponding big hole.
- Educe AC power input wire from the upside.
- Put install base (5) together with products using a screw.
- Cover the Aluminum alloy cover plate.
- Connected AC power input wire and held the product to the Mounting position.
- The unit can be installed on any surface; you may rotate the EXIT panel at any angle from 0° to 180°, and ceiling mounting turn 90° becomes wall mounting.
SIDE MOUNTING
- Open Aluminum alloy cover plate (12).
- Take out the black plastic Stopper (22)
- Put the rubber wire trap in the corresponding big hole.
- Educe AC power input wire from the side
- Put install base (5) together with products using a screw
- Cover the Aluminum alloy cover plate.
- Connected AC power input wire and held the product to the Mounting position.
- The unit can be installed on any surface; you may rotate the EXIT panel at any angle from 0° to 180°.


-
Request Quote
-
Overview
-
Installation Guide
-
Download
-
Warranty
REQUEST QUOTE
- Feature
- This new sleek & modern design is long-lasting, bright and energy efficient require very little maintainence and have battery back-up in case of power outages.
- Input Voltage:
- AC 120V/277V
- Wattage
- 5 WATTS
- Mounting
- Wall / Ceiling Mounting
CEILING & BACK MOUNTING
- Open Aluminum alloy cover plate.
- Take out the black plastic Stopper (22).
- Put the rubber wire trap in the corresponding big hole.
- Educe AC power input wire from the upside.
- Put install base (5) together with products using a screw.
- Cover the Aluminum alloy cover plate.
- Connected AC power input wire and held the product to the Mounting position.
- The unit can be installed on any surface; you may rotate the EXIT panel at any angle from 0° to 180°, and ceiling mounting turn 90° becomes wall mounting.
SIDE MOUNTING
- Open Aluminum alloy cover plate (12).
- Take out the black plastic Stopper (22)
- Put the rubber wire trap in the corresponding big hole.
- Educe AC power input wire from the side
- Put install base (5) together with products using a screw
- Cover the Aluminum alloy cover plate.
- Connected AC power input wire and held the product to the Mounting position.
- The unit can be installed on any surface; you may rotate the EXIT panel at any angle from 0° to 180°.


