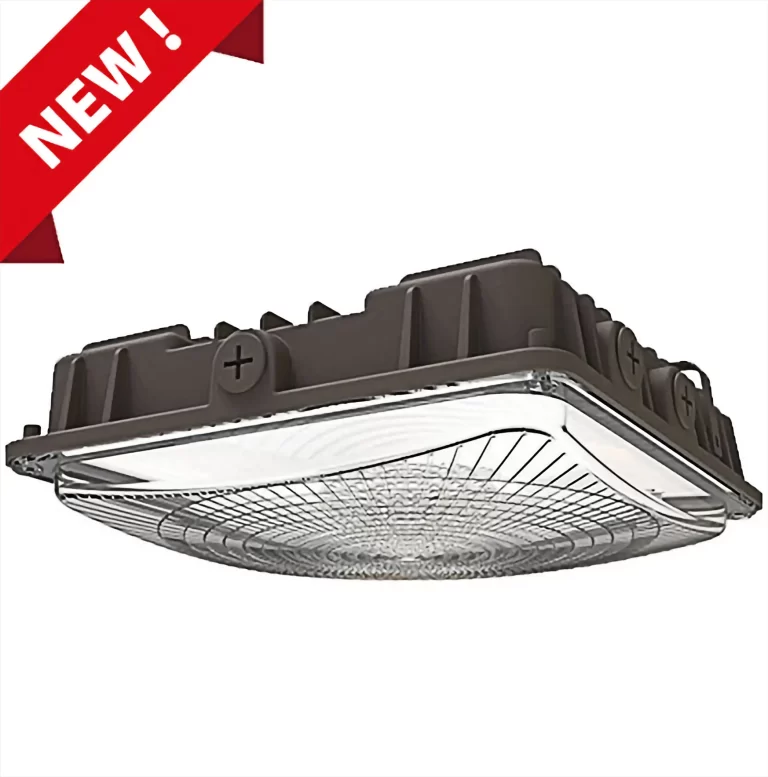
Die-casng aluminum housing with four 1/2” NPT side conduit entries.
Quick mount plate for surface or juncon box mounting.
Heat-resistant polycarbonate lens.
Voltage - Lumen Output:
AC 120 – 277V
Wattage:
30W /45W /63W
Mounting:
Ceiling or Pendant
Other Temperature:
Quick mount plate for surface or junction box mounting.
Electrical:
-40°C minimum operating temperature.
45°C maximum operating temperature.
>0.9 power factor.
A 0-10V dimming driver is standard.
Default CCT:
4000K
5000K
Suitable Application:
Parking Structures
Storage areas
Shopping area walkways
Entryway.
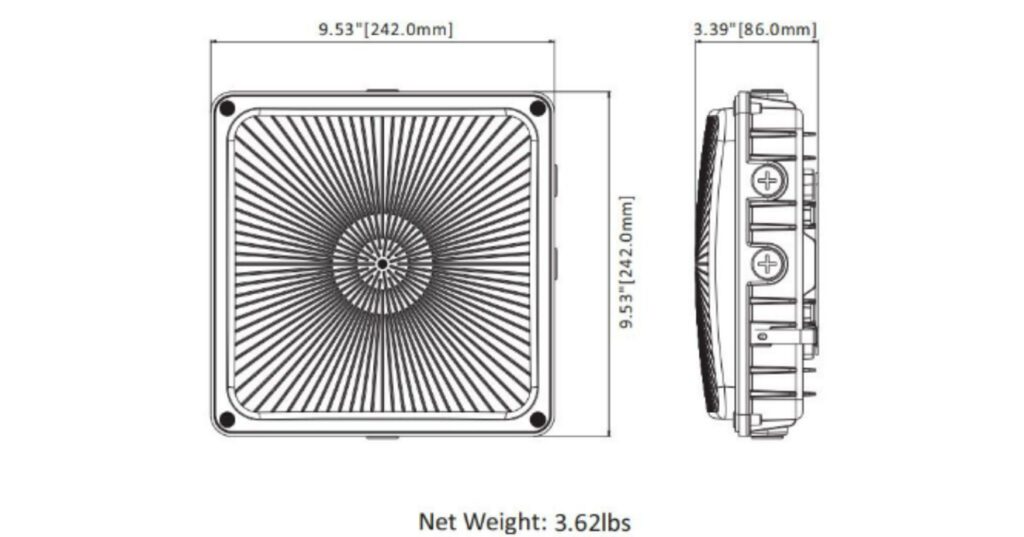
Dimension
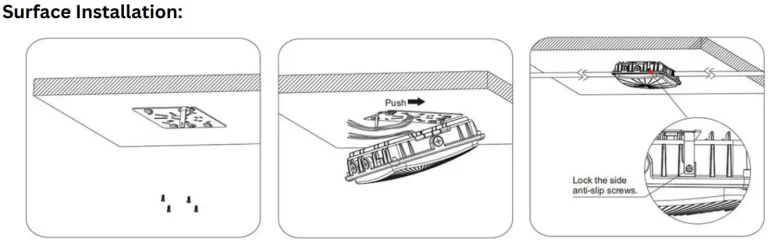
Remove the junction box mounting plate from the top of the fixture by loosening one side screw and sliding the fixture plate out from the holding brackets on the top of the casting.
Install the mounting plate to the junction box with two or four screws (not provided). The bracket should be positioned to allow the fixture to be “square” with the sides of the canopy the fixture is mounted to.
Hang the fixture from the support spring while wiring the unit. Bring the fixture input wires from the top of the fixture and connect them to the power leads in the junction box – black to black (hot), white to white (neutral), and green to green (ground).
Connect the main housing to the junction box bracket. Hold in place while reinstalling one side locking screw.
Turn on the power. The fixture will come to full output in several seconds.
NOTE:
Do not remove the bottom lens or touch the LED optics. All LEDs are preinstalled and ready to operate.
To weatherproof your outdoor installation, all gaskets must be seated properly and all screws inserted and tightened firmly.
Apply weatherproof silicone sealant around all edges between the fixture housing and mounting surface.
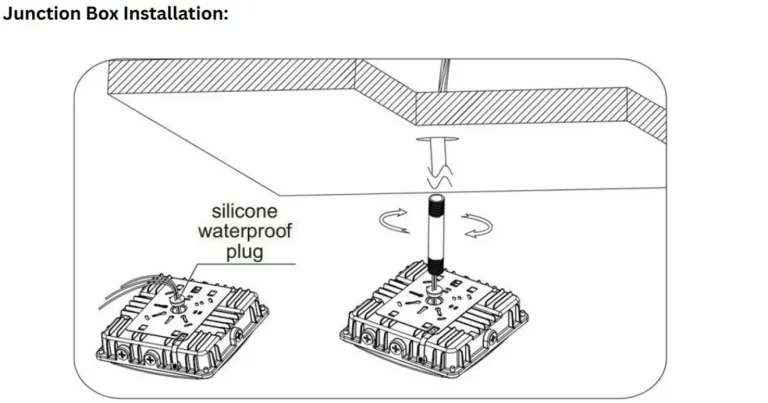
Feed input leads through a 6″ x 3/4″ threaded conduit pipe (not supplied), apply RTV silicone between threads, and screw conduit pipe into fixture threading.
Apply RTV silicone at the joint between the fixture and the pipe.
Attach the fixture with conduit pipe to the junction box.
Bring the fixture input wires from the conduit pipe and connect them to the power leads in the junction box black to black (hot), white to white (neutral), and green to green (ground).
Reconnect power at the circuit breaker and test the fixture. The full output should occur within seconds.
NOTE:
Do not remove the bottom lens or touch the LED optics. All LEDs are preinstalled and ready to operate.
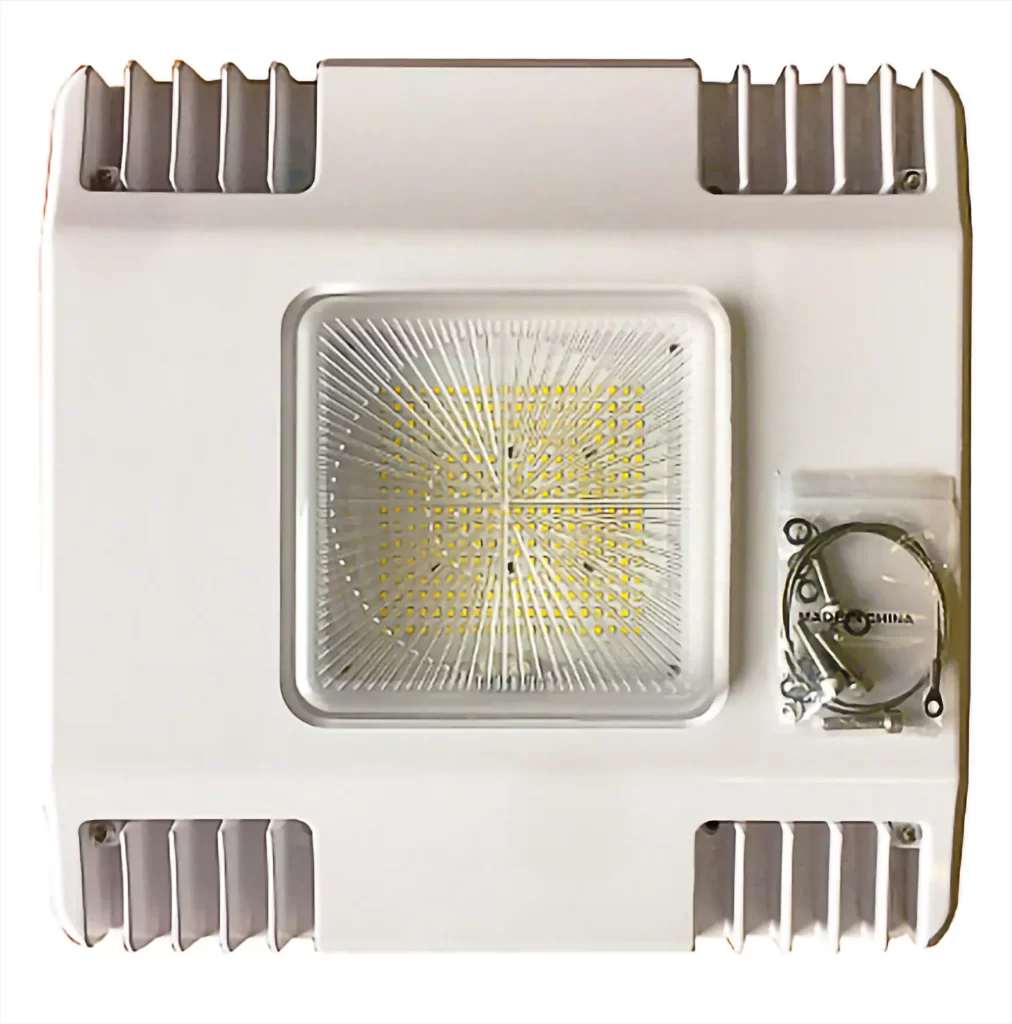
241 Series CCT FIXED GAS STATION LED CANOPY LIGHTS
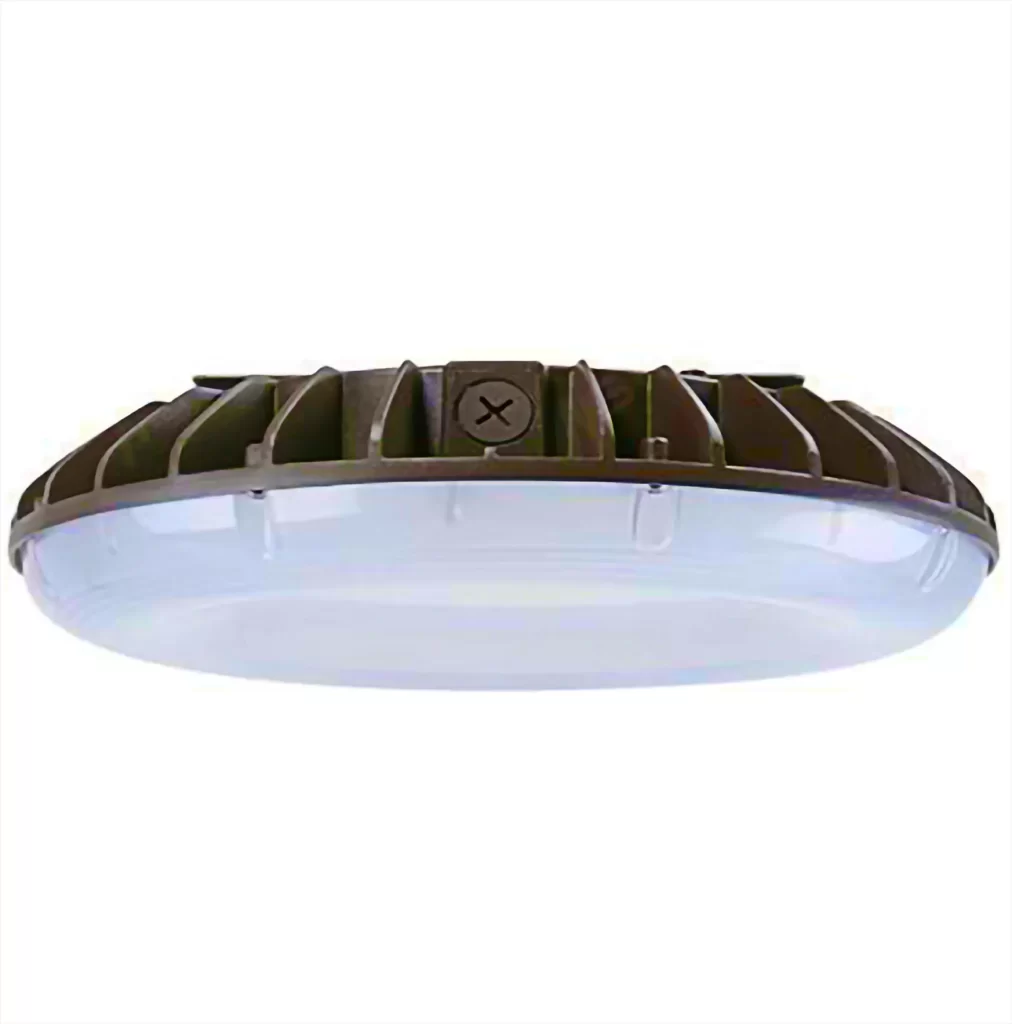
247 Series CCT FIXED CLASSIC ROUND LED CANOPY LIGHTS
Other Outdoor LED Light Products
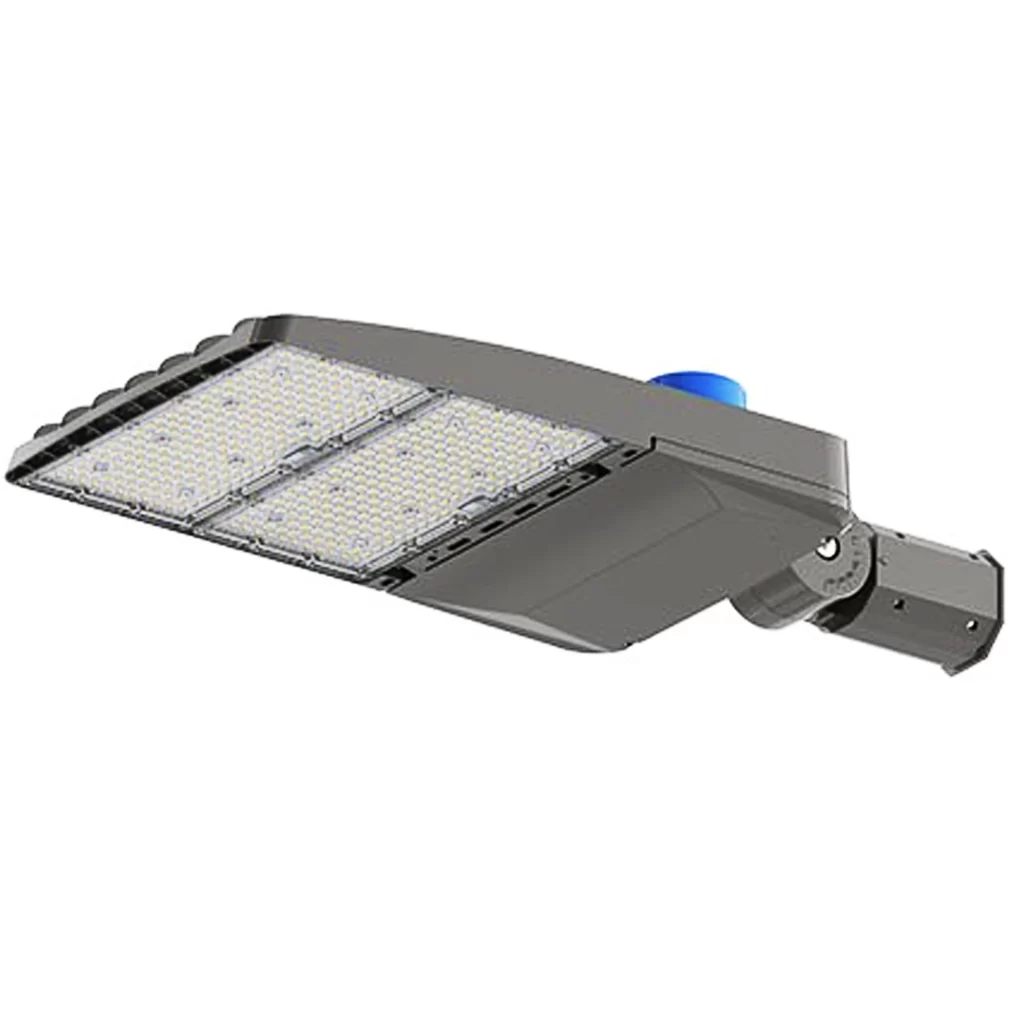
LED AREA LIGHTS
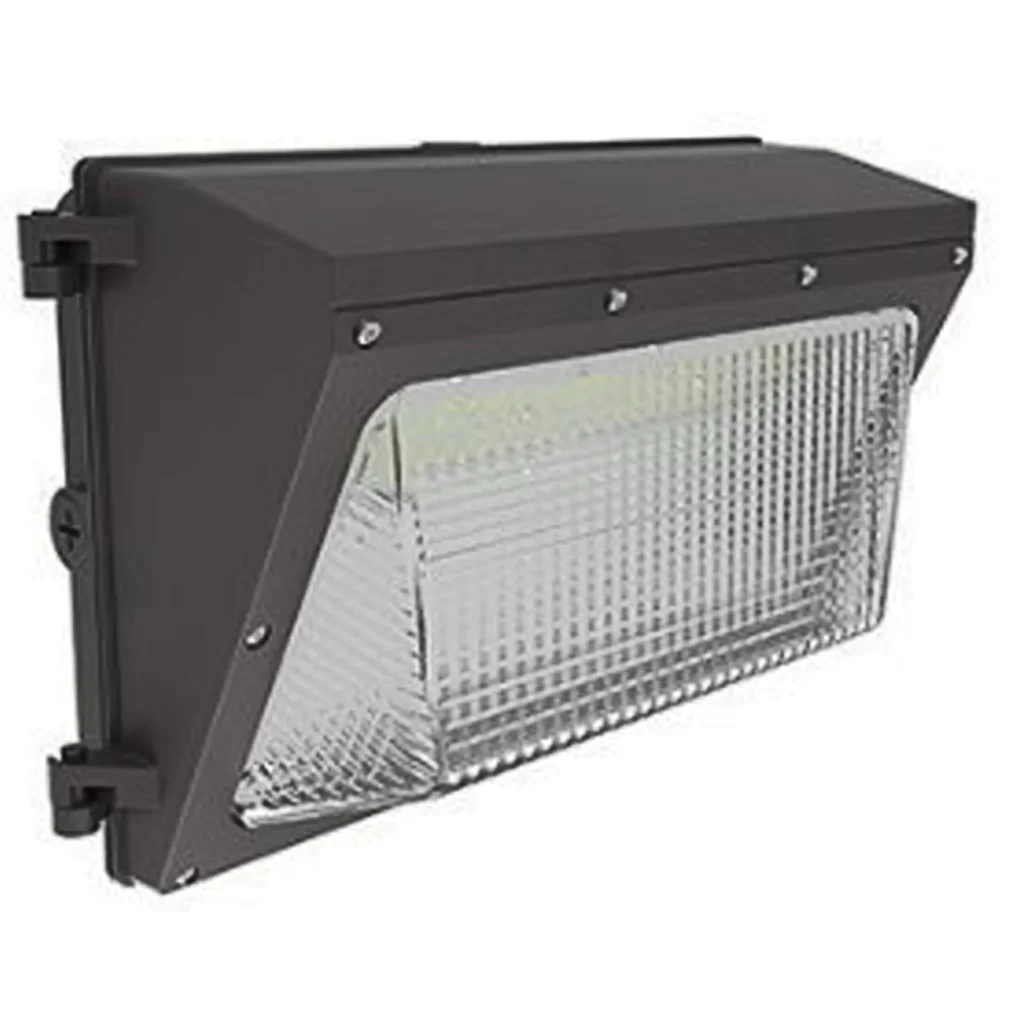
LED WALL PACKS
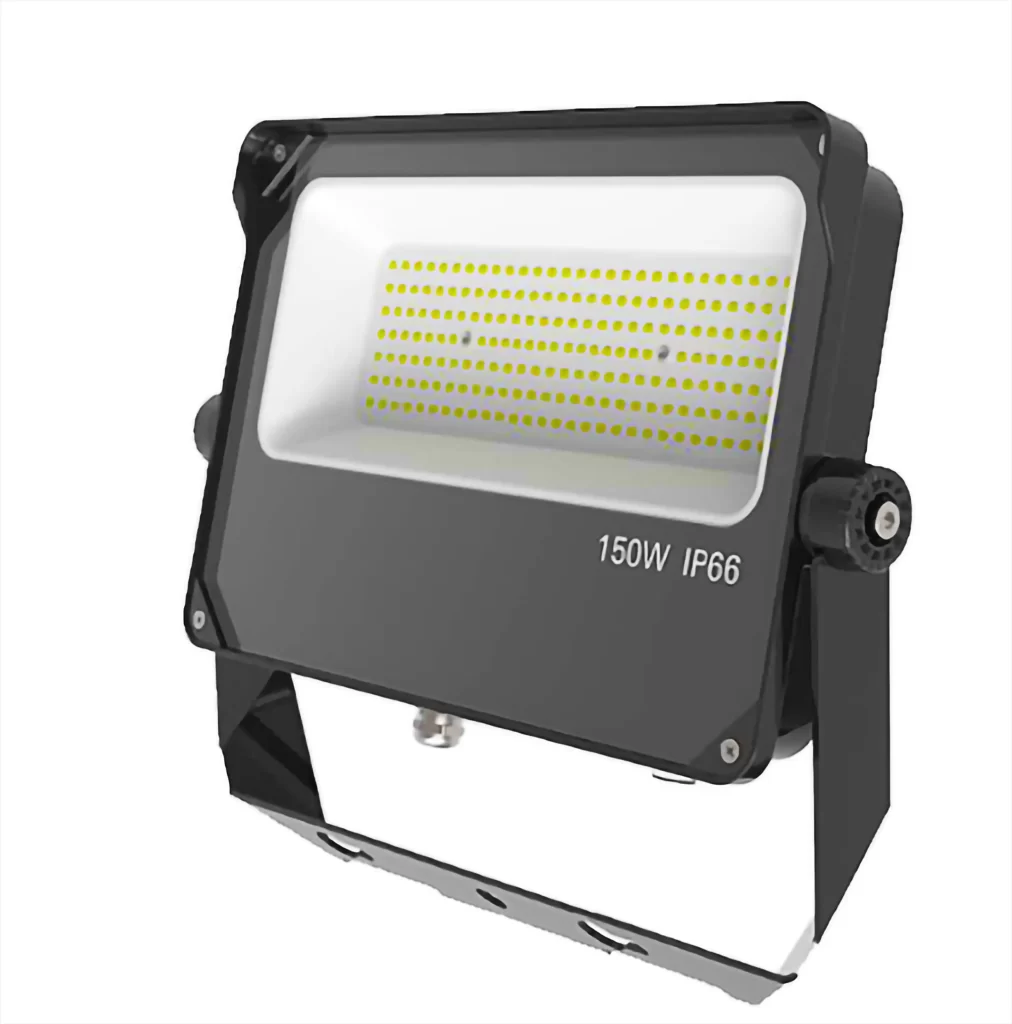
LED FLOOD LIGHTS
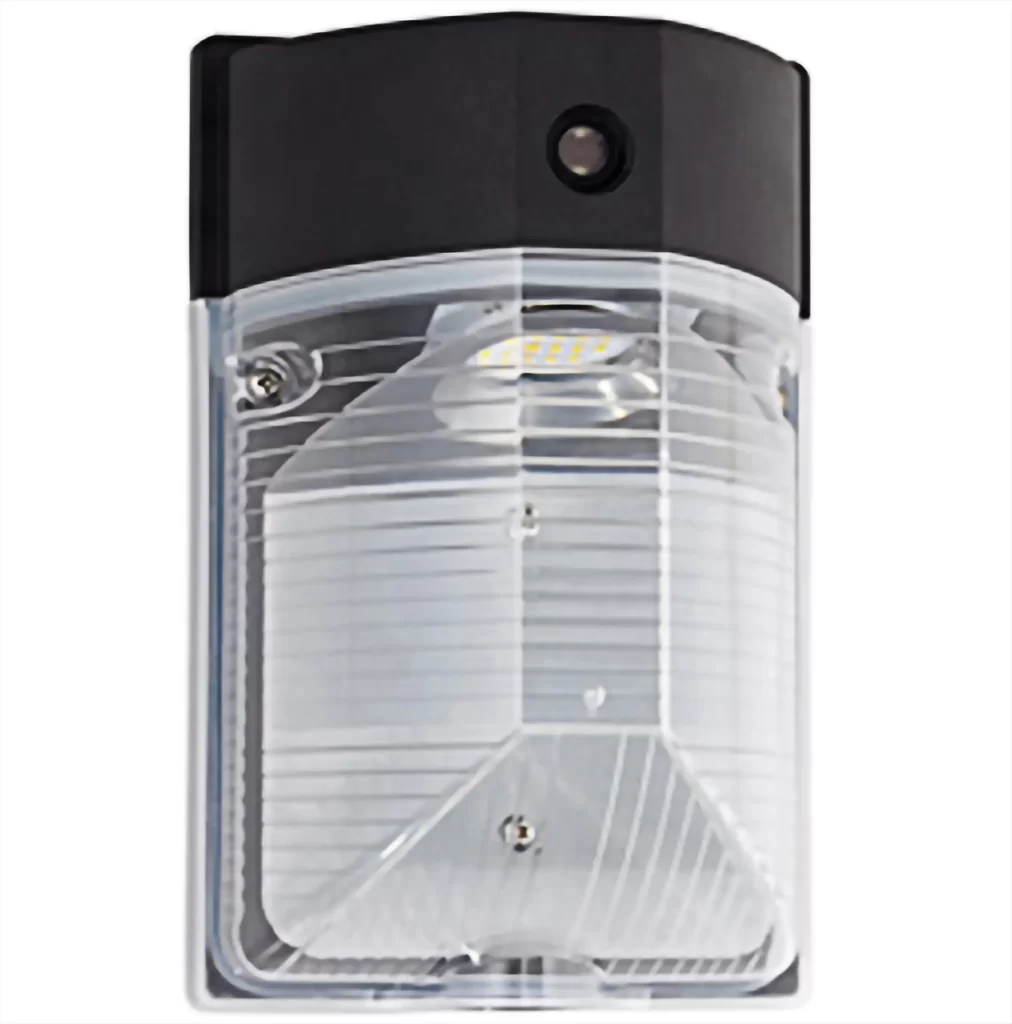
WALL-MOUNTED LED LIGHTS
LED DUSK TO DAWN LIGHTS
LED DUSK TO DAWN LIGHTS
Frequently Asked Questions (FAQs) About Square Led Canopy Lights
What are Square LED Canopy Lights?
Square LED Canopy Lights are energy-efficient lighting fixtures designed specifically for outdoor canopy applications. They provide bright and uniform illumination while consuming less energy compared to traditional lighting options.
How do Square LED Canopy Lights benefit me?
These lights offer several benefits, including lower energy consumption, longer lifespan, reduced maintenance costs, and superior illumination quality. They also contribute to a safer environment due to their bright and consistent lighting.
Where can Square LED Canopy Lights be used?
They are suitable for various outdoor applications such as gas stations, parking garages, walkways, building entrances, and other canopy structures. Additionally, they can be used in indoor spaces where high-quality lighting is required.
What are the features of DVDLights' Square LED Canopy Lights?
Our Square LED Canopy Lights feature a durable and weather-resistant design, ensuring reliable performance in outdoor environments. They offer high lumen output, adjustable mounting options, and advanced optics for enhanced light distribution.
How long do Square LED Canopy Lights last?
Our LED canopy lights are designed to have a long lifespan, typically ranging from 50,000 to 100,000 hours of operation. This translates to several years of maintenance-free use, significantly reducing replacement and maintenance costs.
Are Square LED Canopy Lights easy to install?
Yes, our LED canopy lights are designed for easy installation. They come with mounting hardware and detailed instructions, allowing for quick and hassle-free setup. However, professional installation may be recommended for certain applications or larger installations.
Do Square LED Canopy Lights come with a warranty?
Yes, DVDLights stands behind the quality of our products. Our Square LED Canopy Lights come with a standard warranty, ensuring peace of mind and customer satisfaction. Please refer to specific product details for warranty information.
Can Square LED Canopy Lights be dimmed?
Some models of our LED canopy lights offer dimming capabilities, providing flexibility in lighting control and energy savings. Dimming options may vary depending on the specific product model, so please check the product specifications for details.
Are Square LED Canopy Lights environmentally friendly?
Yes, LED technology is known for its environmental benefits. Square LED Canopy Lights consume less energy, produce minimal heat emissions, and contain no hazardous materials such as mercury, making them eco-friendly lighting solutions.
How can I purchase Square LED Canopy Lights from DVDLights?
You can purchase our Square LED Canopy Lights directly from our website or through authorized distributors. Simply browse our product catalog, select the desired model, and proceed to checkout. For bulk orders or inquiries, please contact our sales team for assistance.