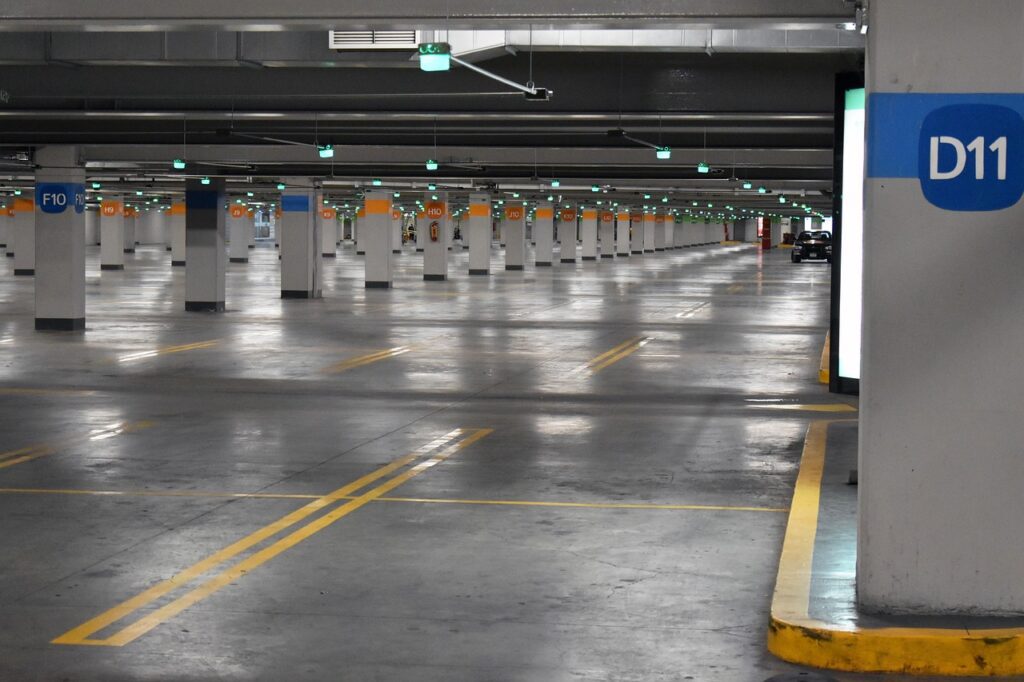
Good parking lot lighting ensures the safety of the people walking and driving; therefore, pathways are clearly marked and cars are easily seen. Good parking lot lights offer basic crime and vandalism deterrents. Parking lots with ample lighting will improve the visual aesthetics of your property and make it more appealing and professional. These prerequisites and steps must be done by a licensed electrician so that the lighting is indeed well installed and completely meets the required safety and regulatory standards.
Photo by Eric Mclean: https://www.pexels.com/photo/aerial-view-of-a-building-in-a-city-18462219/ via Pexels

Step 1: Assess the Current Lighting Situation
Proper surveys of sites are the first key step in the optimization of lighting in your project. This encompasses detailed inspection to assess the current lighting infrastructure.
Conduct a Site Survey:
First, circle the entire parking lot to look closely at everything to get an idea of where there might be lighting deficiencies. Note all light fixtures that don’t seem to be working, whether electrically or physically.
Identify Potential Hazards:
Be careful to note hazards or safety issues while surveying that may include dark spots or damaged fixtures; these are problem areas to security, pedestrians, and drivers.
Document Findings:
Proper documentation of these observations is quite important. Notes and photographs should be taken in trying to capture effectively the condition of each fixture. This documentation provides a very critical reference point for tracking necessary repairs and improvements. This, in turn, offers valuable insight into future maintenance efforts in efficiently managing the lighting infrastructure.
Step 2: Gather Necessary Tools and Materials
Having the right tools and materials will ensure you carry out any maintenance or repair work effectively and in a safe manner.
Tools Required:
Before making any adjustments to the lighting, it is good practice to ensure that you have all the tools needed right at your fingertips. This will generally include a lift, which allows one to reach high fixtures safely, a versatile screwdriver for disassembling just about any type of fixture, wire strippers in case you have to cope with electrical components, and, of course, a good voltage tester to come into contact with electricity safely. Having these tools at your fingertips makes everything easier to a great extent and prevents numerous disruptions while working on a task.
Materials Needed:
Apart from tools, prepare all the required materials in advance so that the work will not be delayed because of a shortage in materials. We will provide the LED luminaires replacing all the components mentioned above. You will need the LED fixtures, photocells, and tools to mount and test those fixtures. Having these materials on hand enables you to quickly fix any problems found during the assessment phase, ensuring the least amount of downtime for your lighting infrastructure is incurred.
Safety Gear:
Safety should be your number one priority when dealing with electrical systems and fixtures. By protecting yourself with the correct gear, such as heavy-duty working gloves to keep your hands from cuts and electric shock, safety eyewear to protect your eyes from flying particles and potential electrical arcing, and suitable protective clothing to reduce the risk of injury, be on the lookout. By taking these safety measures, you will not only protect yourself physically but also increase your efficiency at the job and enhance your confidence in the overall work to be done.
Step 3: Turn Off Power Supply
It is always necessary to safely de-energize the lighting system before any maintenance or repair work to avoid risks of electrical accidents.
Locate the Main Power Source:
First, locate the master power supply to the parking lot lighting system. This may be a breaker panel or just an independent power switch which will isolate the lighting structure. Be aware of this so that you have the ability to manipulate the flow of power to the lighting fixtures easily.
Ensure Power is Off:
Before any work is initiated on the fittings, it is supremely crucial to establish that the electrical current has been completely turned off. Use a voltage tester on the outlet with very keen care to be sure if any live electricity is flowing or not. This important safety step will ensure that no shocks or other possible electrocution arises and it will, in essence, set for yourself and any team partners a safe working environment.
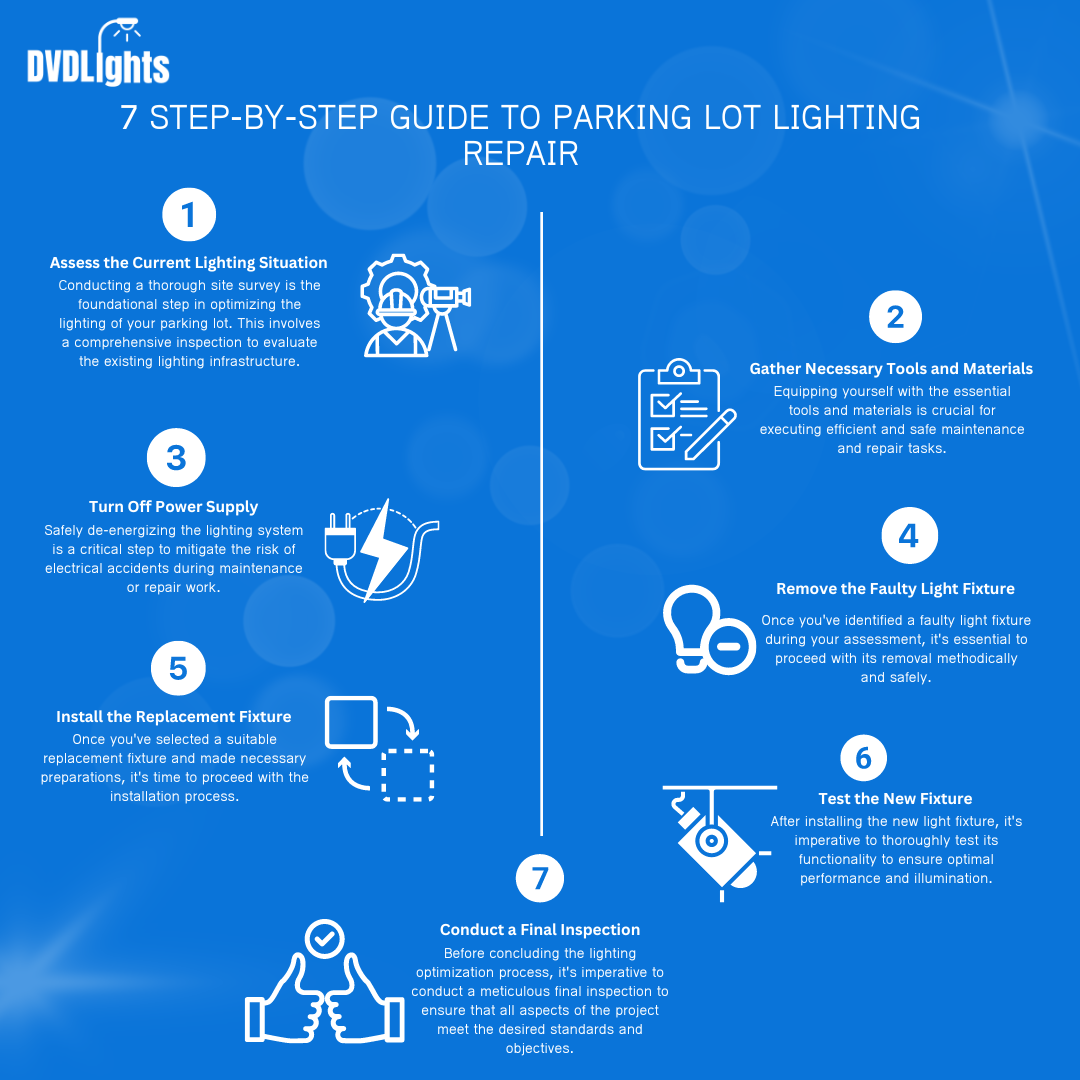
Step 4: Remove the Faulty Light Fixture
After identifying a problematic light fixture during your evaluation, you must go about the process of removing it in a controlled and safe manner.
Access the Light Fixture:
If the faulty fixture is located too high to reach safely, it is on poles or high ceilings; use a substantial ladder or lift. Always maintain safety by making sure the ladder or lift is secure before climbing.
Remove the Fixture:
Having gained access under permission, it is time to gingerly extricate the offending light fixture from its mounting position. Depending on the fixture type, this might entail some unscrewing of fastenings, some unclipping of securing mechanisms, or disconnecting electrical connects. Be cautious, as one should avoid causing accidental damage to the surrounding infrastructure or oneself in the process.
Check for Damage:
Once this fixture is out, take a minute to inspect the component for obvious wear, corrosion, or physical damage. By observing how bad it is, you’ll be able to determine if the work will involve more than just simple replacement. Look for signs such as frayed wires, cracked casings, and burnt components that could compromise functionality or safety. Since we provide you with new fixtures, the damaged fixtures can just be replaced by the new ones which are provided by us.
Step 5: Install the Replacement Fixture
Now that you have selected a replacement fixture that suits your needs and taken any preliminary precautions, you can install it.
Prepare the New Fixture:
First and foremost, before the installation process, check the compatibility of the new fixture with the present lighting system. Ensure that the new fixture comes within the specified voltage requirements and mounting specifications of your infrastructure at the parking lot. This step helps eliminate problems related to incompatibility and assures a smooth integration into the system.
Install the Fixture:
Follow closely the manufacturer’s directions for installation of a new fixture. First, secure the fixture to the intended mounting location using the appropriate mounting method, either aligned or fastened to the mounting location to resist external elements and vibrations. Recommended mounting practices shall be followed whether on poles, walls, or any other mounting surface to ensure the stability and endurance of the installation.
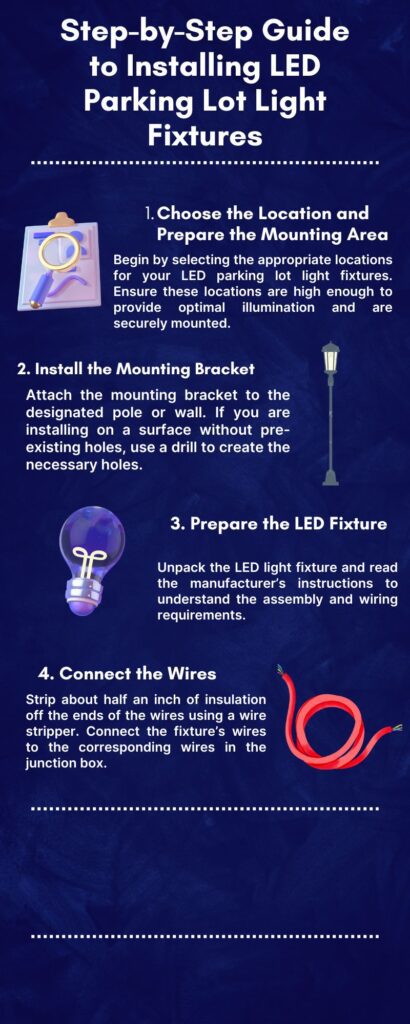
Reconnect Wiring:
With the fixture fastened, turn power back on to the fixture using proper electrical safety techniques. Strip the wire ends, making sure the insulation is stripped back enough to give the length needed to make a quality connection. Connect wires of like color or as otherwise indicated by color coding or labeling for polarity using wire nuts or connectors. Check your connections for tightness and any failure points in the electrical circuit.
Step 6: Test the New Fixture
After the installation process of the new light fixture, it is essential to follow thorough testing to achieve the best performance and illumination.
Restore Power Supply:
Finally, after everything is installed, flip the power back on at the circuit breaker or power switch that supplies power to the lighting system. This step restores electrical flow to the newly installed fixture and allows it to begin operation.
Check Functionality:
Now, turn on the power, and carefully view the installed light fixture for conformance to plan. Check whether it produces an adequate amount of illumination over the right square footage. This step ensures that the fixture is satisfying its purpose of increasing visibility and safety around a parking lot.
Adjust as Needed:
In case there are discrepancies or poor lighting conditions that emerge after testing, address these with rapid actions. This will call for adjustment in the position or angle of the fixture to provide maximum coverage of the lot without dark spots or uneven illumination. This promotes uniform and effective lighting for better pedestrian and vehicle visibility to ensure security.
Step 7: Conduct a Final Inspection
A detailed final inspection at the end of a lighting optimization process is imperative to ensure that everything is up to the desired standard and meets the set objectives.
Verify Overall Lighting:
First, review the entire parking area to make sure that lighting provided to it is uniform, with no dark spots or areas of poor illumination. Be very careful with corners, entrances, and especially areas of high crossing by pedestrians and cars, making sure inside the facility there is proper visibility in regard to safety concerns. It makes sure that the lighting design successfully does what it is intended to: illuminate the parking lot for both security and easier operation.
Address Remaining Issues:
Additional problems or deficiencies might be noted that were not observable in the previous phases of work during final inspections. The contractor shall make necessary adjustments or repairs promptly to correct the noted problems. This includes replacement of malfunctioning fixtures, light angle adjustments, and rewiring, as may be required, to ensure a properly functioning lighting system that meets all functional and aesthetic criteria.
Conclusion
This recommends that periodic maintenance is important for the safety and security of a car park. Encourage regular inspections to avoid problems in the future and attach a contact from which one could avail professional help if needed. With an emphasis on upkeep, setting up maintenance schedules, and easing access to expertise, you ensure continuous functionality and effectiveness of the lighting systems, hence a safer environment for patrons and visitors.
FAQs
Why is regular maintenance important for parking lot lighting?
Regular maintenance is essential for ensuring the safety and security of parking lots. It helps identify and address any issues with lighting fixtures promptly, reducing the risk of accidents, improving visibility, and deterring criminal activity.
How often should parking lot lighting be inspected and maintained?
The frequency of inspections and maintenance can vary depending on factors such as the size of the parking lot, the type of lighting fixtures used, and local environmental conditions. However, it’s generally recommended to conduct routine inspections at least once every few months to catch any emerging issues early on.
What are some common signs that parking lot lighting fixtures need repair or replacement?
Common indicators of lighting fixture issues include flickering or dimming lights, damaged or broken fixtures, and areas with uneven lighting or dark spots. Additionally, any visible signs of wear and tear or electrical abnormalities should prompt immediate attention and assessment.
Can I perform parking lot lighting maintenance myself, or do I need professional assistance?
While some basic maintenance tasks such as bulb replacements can be performed by facility managers or maintenance personnel, more complex repairs or installations may require professional assistance. It’s essential to prioritize safety and ensure that individuals performing maintenance tasks have the necessary skills and knowledge.